How to use your dashboard to manage your email lists
Steps:
Think of your Skrapp dashboard as your own database. Here is how to navigate it:
Left panel:
- Account information: Your current plan and balance show at the top. Click on your name to access your account settings, team settings, and billing. - Lists: To help you organize your projects, all your leads are saved in lists. Click on the green ‘New List’ button to create a new list on your dashboard.
Main panel:
To view your leads, head to the center of your dashboard. Click on a list to show all the leads it contains, alongside some of their details: Full name, Title, Company, Email, and Verification Status.
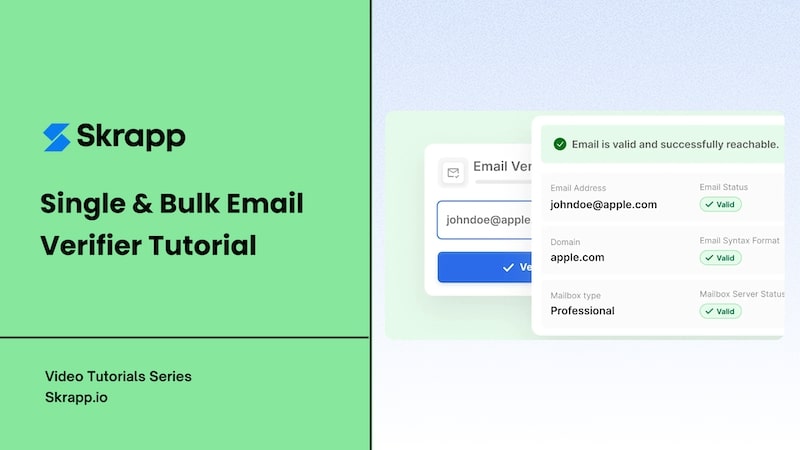
The Verification column supports 4 different values in order to give you more control over your outreach campaigns.
Right panel:
A new panel pops as soon as you click on a lead in your lists. It shows more details about your contact and their company.
A few commands are available under the name of the lead. From left to right, the buttons allow you to view your contact’s LinkedIn profile, send them an email, delete their record, or edit their information.
Top panel:
You will notice 4 other buttons at the top of your dashboard, right beside your list’s name. Here is how to use them:
- List Search: To find a lead by typing in their name.
- Download: To download a list as an Excel or CSV file.
- Clean list: To delete all the duplicates in a list.
- Delete list: to remove the list from your dashboard.
Note that 1 search credit = 1 email search or 1 company search
Question? Send us an email at support@skrapp.io.


